Solar Charge Controller Installation: Wiring Order, Cable Size & Safety
Nov 5, 2026 . Alobari Team
Quick answer: Always connect the battery first, then the DC load (if used), and the solar panels last. Disconnect in the reverse order: panels first, battery last. Put a fuse or DC breaker between the battery and controller and between the panels and controller, use copper cable thick enough for the current, and mount the controller indoors in a ventilated spot.
Why the order matters
The controller detects the battery voltage (12V, 24V or 48V) when the battery is connected. If panels are connected first, the controller may mis-detect the system or be exposed to panel voltage without a battery to absorb it.
Step-by-step
- Switch off all breakers and cover the panels or wait until evening.
- Mount the controller vertically on a wall, indoors, with space above and below for airflow.
- Connect battery cables (with fuse) to the BAT terminals — red to +, black to −. Check the display shows the right system voltage.
- Connect DC loads to the LOAD terminals if you use them.
- Connect panel cables (with breaker) to the PV terminals.
- Set the battery type (LiFePO4, AGM, Gel, Flooded) in the controller settings.
Cable size guide (copper, short runs)
| Current | Minimum cable |
|---|---|
| Up to 10A | 2.5–4mm² |
| 20A | 4–6mm² |
| 30A | 6–10mm² |
| 40–50A | 10–16mm² |
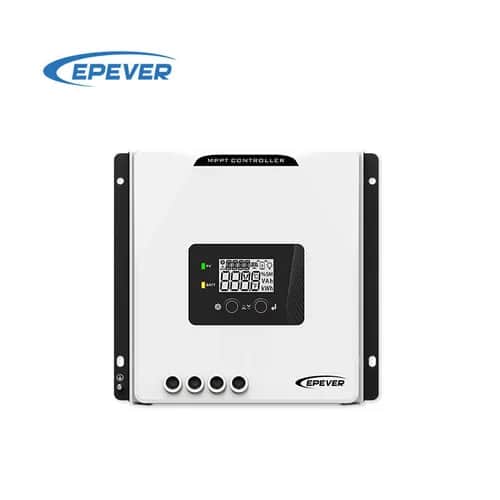
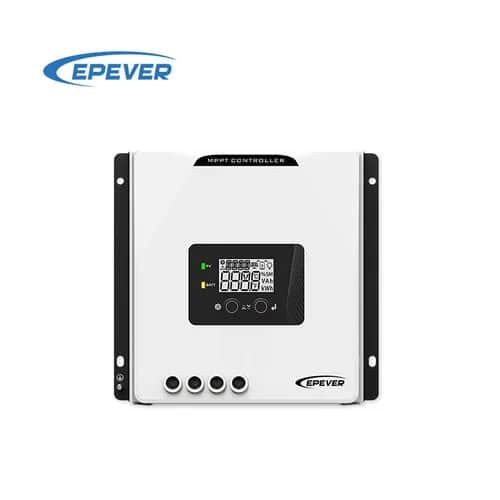
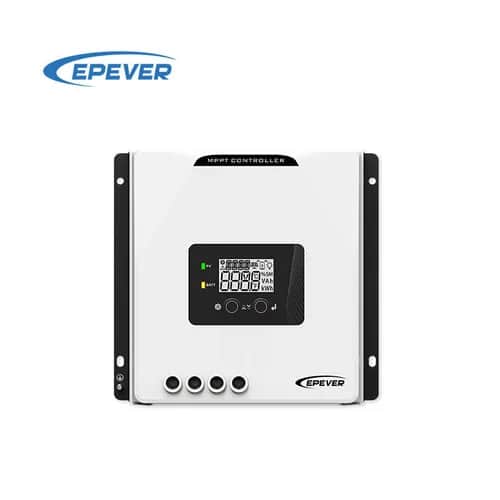
Longer runs (more than ~5m) need thicker cable to avoid voltage drop. Wiring panels in series at higher voltage (with a 100V or 150V MPPT such as EPEVER TRC4210 or TRC4415) lowers the current and allows thinner cable.
Protection for Bangladesh conditions
- Lightning: earth the panel frames and consider a DC surge protector on the PV line, especially for rooftop systems.
- Heat: keep the controller out of direct sun; summer temperatures above 38°C reduce lifespan.
- Monsoon: controllers are not outdoor-waterproof (IP20–IP32). Keep them dry.
- Fuses: rate fuses about 1.25× the controller current.
Common mistakes
- Reversing battery polarity — even with protection, avoid it.
- Exceeding the controller’s max PV voltage on cold winter mornings.
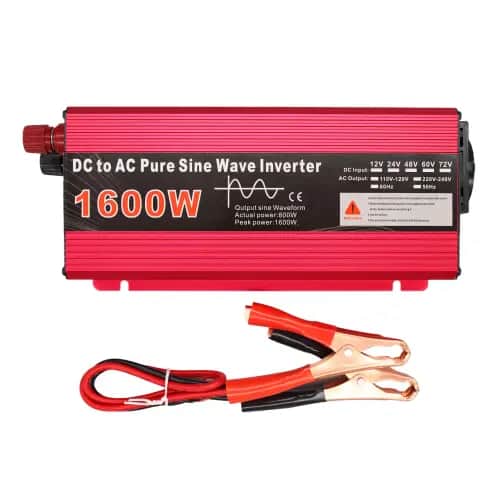
- Connecting an inverter to the controller’s LOAD terminals — inverters go directly to the battery.
বাংলায় সংক্ষেপে
সংযোগের সঠিক ক্রম: প্রথমে ব্যাটারি, তারপর লোড, শেষে সোলার প্যানেল। খোলার সময় উল্টো ক্রম। ব্যাটারি ও প্যানেল লাইনে ফিউজ/ব্রেকার, কারেন্ট অনুযায়ী মোটা তার, আর্থিং এবং কন্ট্রোলার ঘরের ভেতরে বাতাস চলাচলের জায়গায় লাগান। ইনভার্টার সরাসরি ব্যাটারিতে লাগাবেন।
Need help choosing?
Call or WhatsApp Alobari at +880 1611-846093 with your panel size, battery and the appliances you want to run — we will recommend the right setup. Cash on delivery and delivery to all 64 districts of Bangladesh.